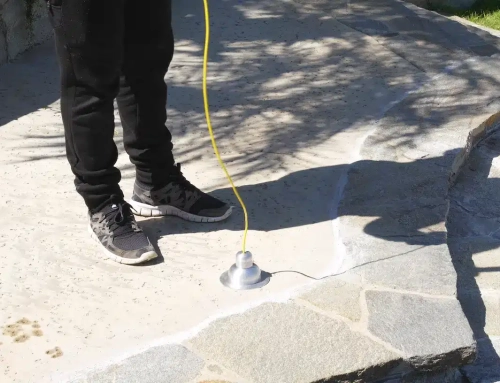
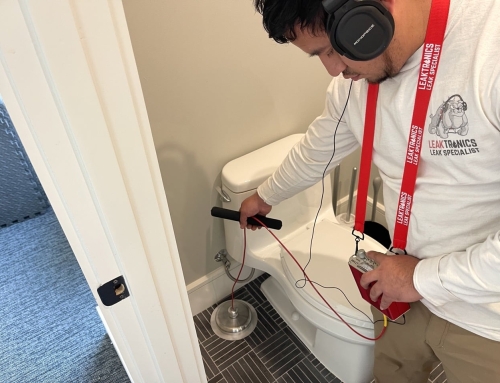
We recently used the Pipepoxy system on an entombed main drain repair job in Bel Air, California. Another leak detection company had located the leak beforehand. However, we always prefer to double-check using our LeakTronics equipment to confirm the location. After confirming the leak was inside the entombed main drain, we went on to use the Pipepoxy trenchless pipe repair system to patch up the leak without unnecessary damage. We accessed the pipe from both sides of the drains, as well as from the bottom, thus ensuring that we coated and repaired the whole pipe. Let’s take a look at the detailed process of the Pipepoxy system in this case study – entombed main drain repair. First, though, let’s break down in more detail what Pipepoxy actually is and how it works.
What is Pipepoxy?
Pipepoxy is a three-part, rapidly curing pipe leak repair technique that contractors use to patch or coat a pipeline section that is leaking. Pipepoxy’s three-step sanding, cleaning, and coating process can reach pipes with a diameter of one to two and a half inches. Pipe diameters of this size are common in swimming pools, fountains, and other water fixtures.
95% of pool plumbing leaks are discovered within three feet of the exterior shell of the pool, fountain, or spa, thus it is rarely necessary to drill or otherwise harm the water fixture. The contractor can gain access to these locations using the Pipepoxy system and seal any pinholes or separations that are the source of leaks without employing invasive techniques. Pipepoxy can also be used to treat poly tubing and PVC flex pipes. For this particular job, we used Pipepoxy on an entombed main drain repair.
How Pipepoxy Saved the Day: Entombed Main Drain
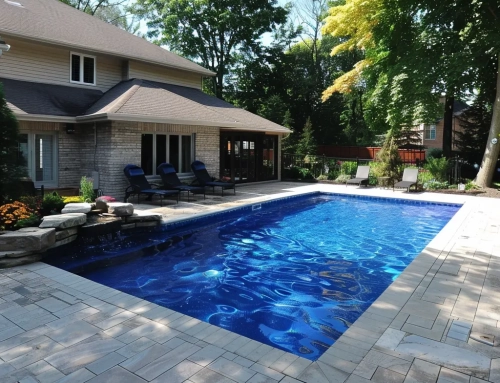
The job involved a very large and very expensive pool on a $22 million property in Bel Air. The pool was brand new. It was waterproofed and there was a lot of structural testing going on before and after filling the pool. The owners realized that they had a main drain leak entombed in the bottom of the pool. The only way to fix this without Pipepoxy is by ripping out the bottom of the actual pool itself. This is a very common issue that owners of new pools face.
Our team came in and went in from both sides of the main drains. We cut the pipe underneath to ensure we have access to the whole pipe. The next thing we did is lay out our tarp over the area where the main drain is located.
Next, we set up our vac and started with the blowing of the pipe. We decided to use our LeakTronics camera so that we could take a look and see exactly what we were up against in the piping. We always like to back ourselves up, especially since it was somebody else’s leak detection that found the leak in the first place. A camera isn’t always necessary, but it certainly doesn’t hurt. We were able to verify the leak location using our Hand Held Video Pro 1.5-inch Camera.
From there, we went in with our sanding disc to prime the pipe and prepare it for the Pipepoxy repair system. The sanding disc scratched it up and added some grit to get it ready for the Pipepoxy to really adhere to it. We went in from three different sides. By doing this, we were able to go in from both parts of the main drain. So, all three sides of that T are going to get cleaned. From there, we blew out the shavings from the sanding disc in order to get it really clean.
It was finally time to start mixing our Pipepoxy 3-part Accumix. In this specific mix, we decided to use about 90% of the actual mix itself. Keep in mind that you don’t always have to use 100% of your Pipepoxy Accumix bottles, especially for smaller pipes. We recommend you check the measurement recommendations in our Mixing Chart. We mixed it for about two minutes to make sure there were no lumps and that it was completely smooth.
Then, we poured about 40% of the Pipepoxy mix on one side of the drain and about 50% on the other side. We went on to brush all of the Accumix through the pipe. It eventually came back up on the other stub-up where we poured the material in. We pulled the brush up and down to ensure that Pipepoxy had sufficiently saturated the inside of the pipes. From there, we allowed the epoxy to come down and drip down below through the pipe. Going in from both sides of the T allowed for maximum coverage and coating of the whole pipe.
Whenever we pull the brush out, we squeegee the material off to ensure that it’s as clean as possible.
Once we knew we have full coverage of the product inside of the pipes, we hooked up our dryer to dry the whole pipe. That’s how we completed this expensive job. Again, if it wasn’t repaired with Pipepoxy, this would have cost a fortune to repair. Pipepoxy also saved the contractor and homeowner unnecessary destruction. Even though this is a much cheaper alternative, we were able to make good money on this quick and easy repair.
For more demonstration videos, check out our YouTube channel.


